
 Okay, before someone notices and points out this project wasn't entirely my idea I will say it first. I got this off the forums of the Bell of Lost Souls. The poster, Cruor Vault, was kind enough to share his "Light Box Under 25 Bucks" there and I wanted to try it for myself. Nothing is as convincing until you do it yourself. So I'm going to show you just that.
I really liked his post, it was extremely well done and I felt that I had to immortalize it on my blog. No matter what happens to his post, it will forever be incarnated here. Sadly, I wasn't able to keep mine under $25 but that's Canadian prices for ya. Here's what I got:


- A large box, which I smuggled out of my local game store after its contents had been put on the shelves. A deep, wide box is preferred, I was thinking enough space for a Baneblade. So that was free.
- A metre of white polyester. That's more than a yard, and also the length of a remnant. Remnants are always cheapest, it would normally have cost $12, but I managed to get to a sale and got it for $3. Not entirely sure why it has to be polyester, I'm just recreating the steps.
- Two desk lamps. These are to shine into the sides of the light box when it's done. I didn't have any lamps hanging around so I needed to acquire some. I got these at Wal-mart for $13.96 for the pair.
- A box of Daylight Bulbs for the side lamps, to get that nice white light. A pack of 3 from Wal-mart cost me $8.96.
- One roll of Black Duct Tape. It goes nicely with all the white, add contrast, and most importantly, it's going to hold everything together. I got it for $4.97 at Wal-mart.
- One 2 metre long Household Cord, or double headed couch cord as Cruor Vault refers to it as. Whatever it's called, it's just to plug your lamps into so three lamps only use up one plug. I got mine at Wal-mart for $1.67. Hey, I was there so I got the stuff.
- One sheet of White Poster Board, or Bristol Board. It doesn't matter what you call it, you need it for the back drop. I got one for $0.82 at Wal-mart.
- One tall lamp, to shine into the top hole of the light box. I have some tall lamps around, but no daylight bulbs. I still have to get bulbs before I can try it out.


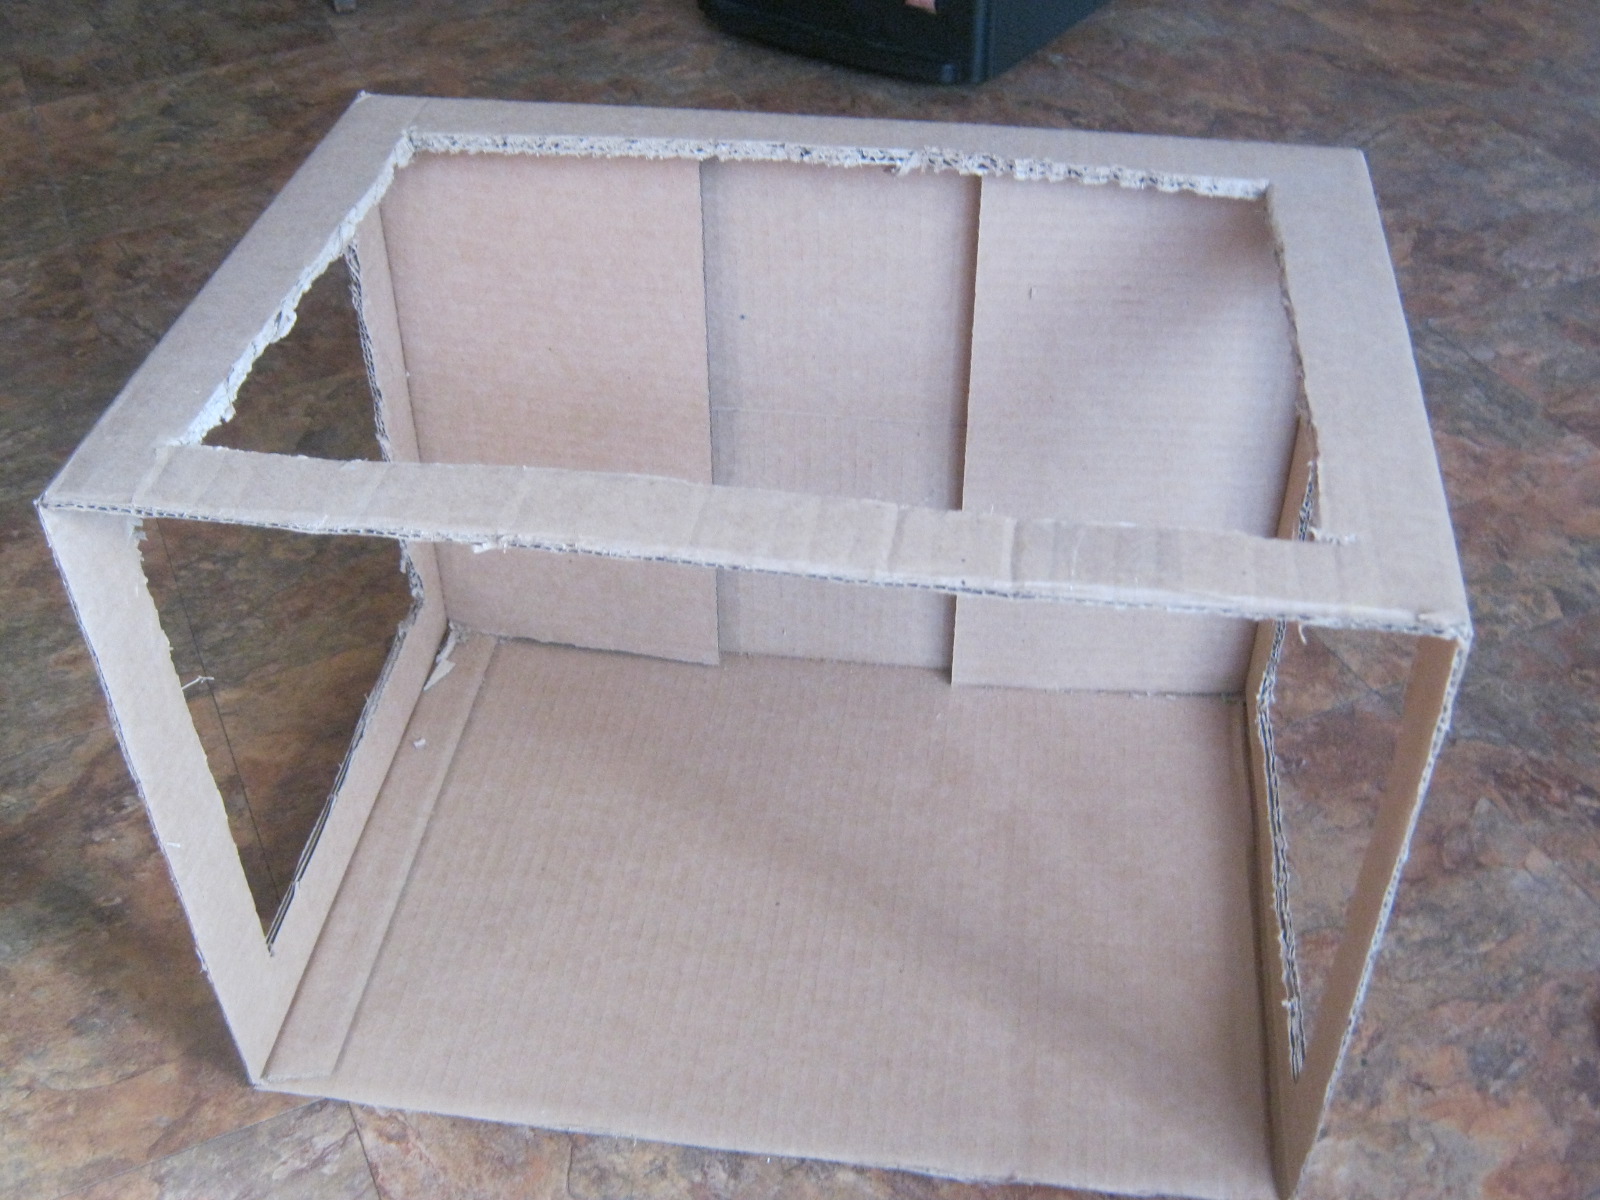
Step Two, draw some large rectangles into three of the sides of the box and then cut them out. These are the ports in which the lights will shine through. I think the picture does more to explain the step than the previous two sentences. At this stage, you will want to have a box that's white on the inside. I didn't so I took a can of white spray I had left over from spraying hordes of snow Tyranids and sprayed the inside of the box.
 Step Three, take some of that white polyester and wrap it over the three cut out windows. I'm guessing that the fabric is to diffuse the light so it doesn't shine directly on the models. Direct light leaves a nasty reflection on models that will sometimes hide the detail. My side lamps aren't that strong, so I only used one layer of polyester. I just cut the tail end of the remnant off and trimmed it to fit the box. I then took the duct tape and taped the sides first, then the new "top" afterwards. Try to keep the cloth tight, it looks better that way. Definitely not an easy task to do alone, so I advise getting help.
 Step Four, take the white bristol board and check to see how well it will fit into the box. I had to trim mine quite a bit, but I'm going to use the leftovers for airbrush stencils. Look forward to an article on that. Once I actually put the paper in, I realized I should have removed the bottom side flaps as well as the top flaps. You've been warned. I slowly arched the paper from the top down to the bottom. I made sure to leave some room at the top to put a couple thin strips of duct tape to make sure it stayed in place. After trimming the excess at the bottom, I also applied tape there. You shouldn't be taking photos at angles that would show the tape anyway, so don't worry about that.

Now that you've got the box itself done, find a space to set it up, plug in the lamps and position them at each of the windows. You should now have a well lit place to take fantastic photos of your awesome models. I'll make an update after I get a bulb for my lamp and show you all how well mine works. Until then, try it out for yourself and show me what you've done.
Signing out,
Cursed13
No comments:
Post a Comment